Five Small Experiments to Master Browning and Caramelization
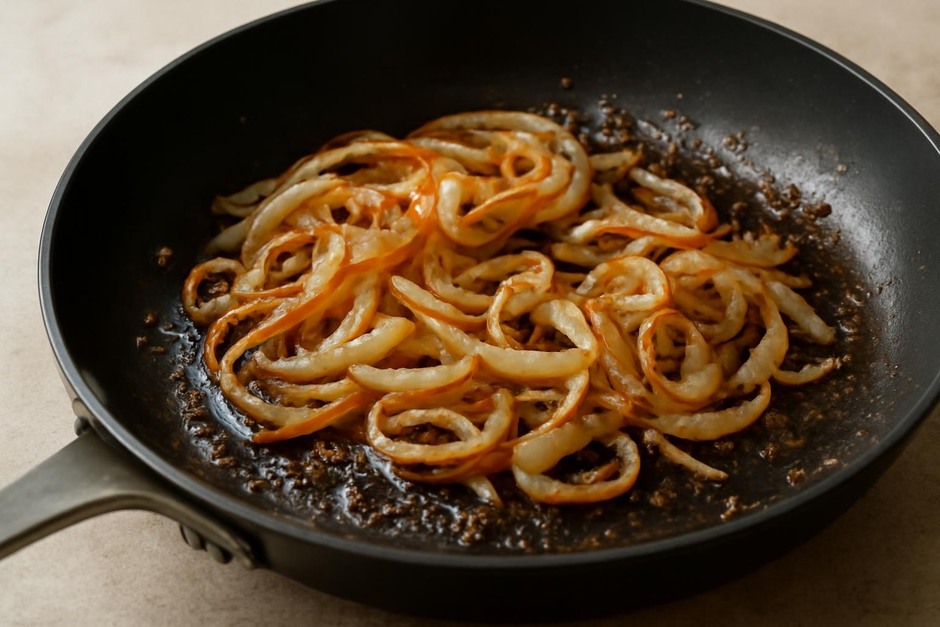
Browning—those toasty, sweet, savory notes that turn ordinary vegetables, meat, and grains into something deeper—is a practical, observable skill. This short field guide asks you to run five tiny experiments, each 10–20 minutes, that reveal how heat, moisture, and surface contact change flavor. Do them in sequence and take notes: you’ll build a sense for when to raise the heat, when to wait, and when to scrape and finish.
What to have on hand
- One small onion, one medium potato, a handful of mushrooms, and one carrot (or equivalent single-ingredient items you eat often).
- Neutral oil (vegetable or canola), butter, a heavy skillet, a spatula, a sheet pan.
- Salt, a pinch of sugar, and a squeeze bottle or tablespoon of vinegar or stock for deglazing.
- A notebook or phone to jot quick observations.
Experiment 1 — Moisture vs. Dry Surface: The Onion Slice
Purpose: See how surface moisture prevents browning.
- Cut two 1cm rounds of onion. Pat one dry with a towel; leave the other moist.
- Heat a skillet over medium-high, add a teaspoon of oil, and place both slices in separate spots without crowding.
- Observe: which one browns first? Note color, time, and smell.
Observation tip: The dry slice will brown faster because water must evaporate before the Maillard reactions begin. If your onions steam instead of sear, raise the heat and dry them first in future preparations.
Experiment 2 — Heat Level: High vs. Moderate for Potato
Purpose: Learn the balance between color and burn.
- Slice a potato into two equal thin rounds. Heat a skillet with 1 tbsp oil. Place one side in the pan on medium, the other on medium-high.
- Allow each to cook undisturbed for 3–4 minutes, then flip to compare colors and textures.
Observation tip: High heat gives rapid color but risks a hard, bitter crust; moderate heat takes longer but can yield a more even, golden result. Adjust heat in your next roast or pan-fry based on which texture you prefer.
Experiment 3 — Fat Type: Butter vs. Neutral Oil with Mushrooms
Purpose: Notice how fats carry flavor and influence browning.
- Split a handful of mushrooms into two piles. Heat two small pans: one with 1 tsp butter, the other with 1 tsp oil.
- Sear the mushrooms in each pan without overcrowding. Compare color, aroma, and the speed of browning.
Observation tip: Butter adds sweetness and browned-milk notes but can smoke at higher temperatures; oil tolerates more heat and promotes a cleaner, often faster crust. Use a mix for flavor control: start with oil, finish with butter.
Experiment 4 — Crowding the Pan: Mushrooms or Potatoes Revisited
Purpose: See how crowding creates steam and prevents color.
- Take two more handfuls of sliced mushrooms or potato rounds. In the same pan, cook one batch in a single layer and the other piled on top of itself.
- Time and note how long it takes each to brown and what moisture appears in the pan.
Observation tip: When pieces touch too much, they release moisture and steam each other. For crisp, deep browning, give ingredients room in a hot pan or roast them on a sheet pan in a single layer.
Experiment 5 — Fond and Deglaze: Turn Brown Bits into Sauce
Purpose: Learn to recognize fond and use it to enhance flavor.
- After searing anything (a leftover onion slice or mushroom), keep the heat on medium. Pour off excess fat if needed, then add a tablespoon of vinegar or a splash of stock to the hot pan.
- Scrape the bottom with a spatula to lift the browned bits and reduce the liquid slightly. Taste carefully.
Observation tip: The browned residue is concentrated flavor. Deglazing turns it into a quick sauce—salty, slightly sweet, and savory. Note how a little acid changes the perception of the brown flavors.
How to practice these skills
Repeat any experiment that surprised you. Each short trial will sharpen your sense of timing, heat, and the visible cues of doneness: a clear change in color, a fragrant nutty smell, a change from glossy to dry on the food’s surface. Keep a running note of what worked—times, heat settings, and which fat you used—and refer to it when cooking for real.
Combine lessons: dry the surface, preheat the pan, use enough fat, avoid crowding, and save the fond. These small observations become habits that let you reliably coax deeper flavor from everyday ingredients without recipes or special equipment.
Final thought
Mastering browning is less about one perfect trick and more about learning a few repeatable responses to what the pan is telling you. Treat the kitchen like a small laboratory: change one variable at a time, watch closely, and let taste be your final measurement.